Zephyr Examples
The Air Quality Wing has first class support on Zephyr. It can be used with almost any board that is supported by Zephyr.
Prebuilt binaries are also located here. (Under Github actions) Not all binaries will work out of the box. Golioth binaries require you to edit golioth.conf before using. (See below.)
Sample descriptions
The code is a a work in progress but includes a BLE example, nRF9160 Feather example an standalone sample.
Basic
The Basic example connects to and obtain samples on a regular basis. They're printed out to the console.
BLE (Bluetooth Low Energy)
The BLE example does the same as the Basic but also connectable via Bluetooth. Once connected characteristics can be subscribed to and updated by the device.
Golioth
The Golioth example is the same as Basic but it also publishes to the Golioth IoT backend for integration with tools like Grafana.
Setting up your environment
Here is the minimal amount of steps to get an example working. This example is currently only configured for the nRF52 DK.
Hardware
If you do not have a PM2.5 sensor you can comment out &hpma_sensor, within sensors[] in main.c before building.
SDK Setup
If you didn't already, install Visual Studio code. You can download it here.

Once Visual Studio code is installed, download the extension here. 👈
Once loaded it will also install all necessary VSCode dependencies.
Then install Git and Python.
Mac
Requires git and python3 to be installed. The easiest way to do that is with Homebrew.
> brew install git python3
Windows
Requires git and python to be installed.
- Download and install
gitfrom here. - Download and install
pythonfrom here.
Linux
Requires git,python and pip to be installed.
Use your distro's package manager of choice to install.
For example on Ubuntu:
sudo apt install git python3 python3-pip
Run Setup
Then open the command window (COMMAND+SHIFT+P on Mac or CTRL+SHIFT+P on other systems) and type Zephyr Tools: Setup

Init the repo
Then initialize this repo using the Zephyr Tools: Init Repo command:
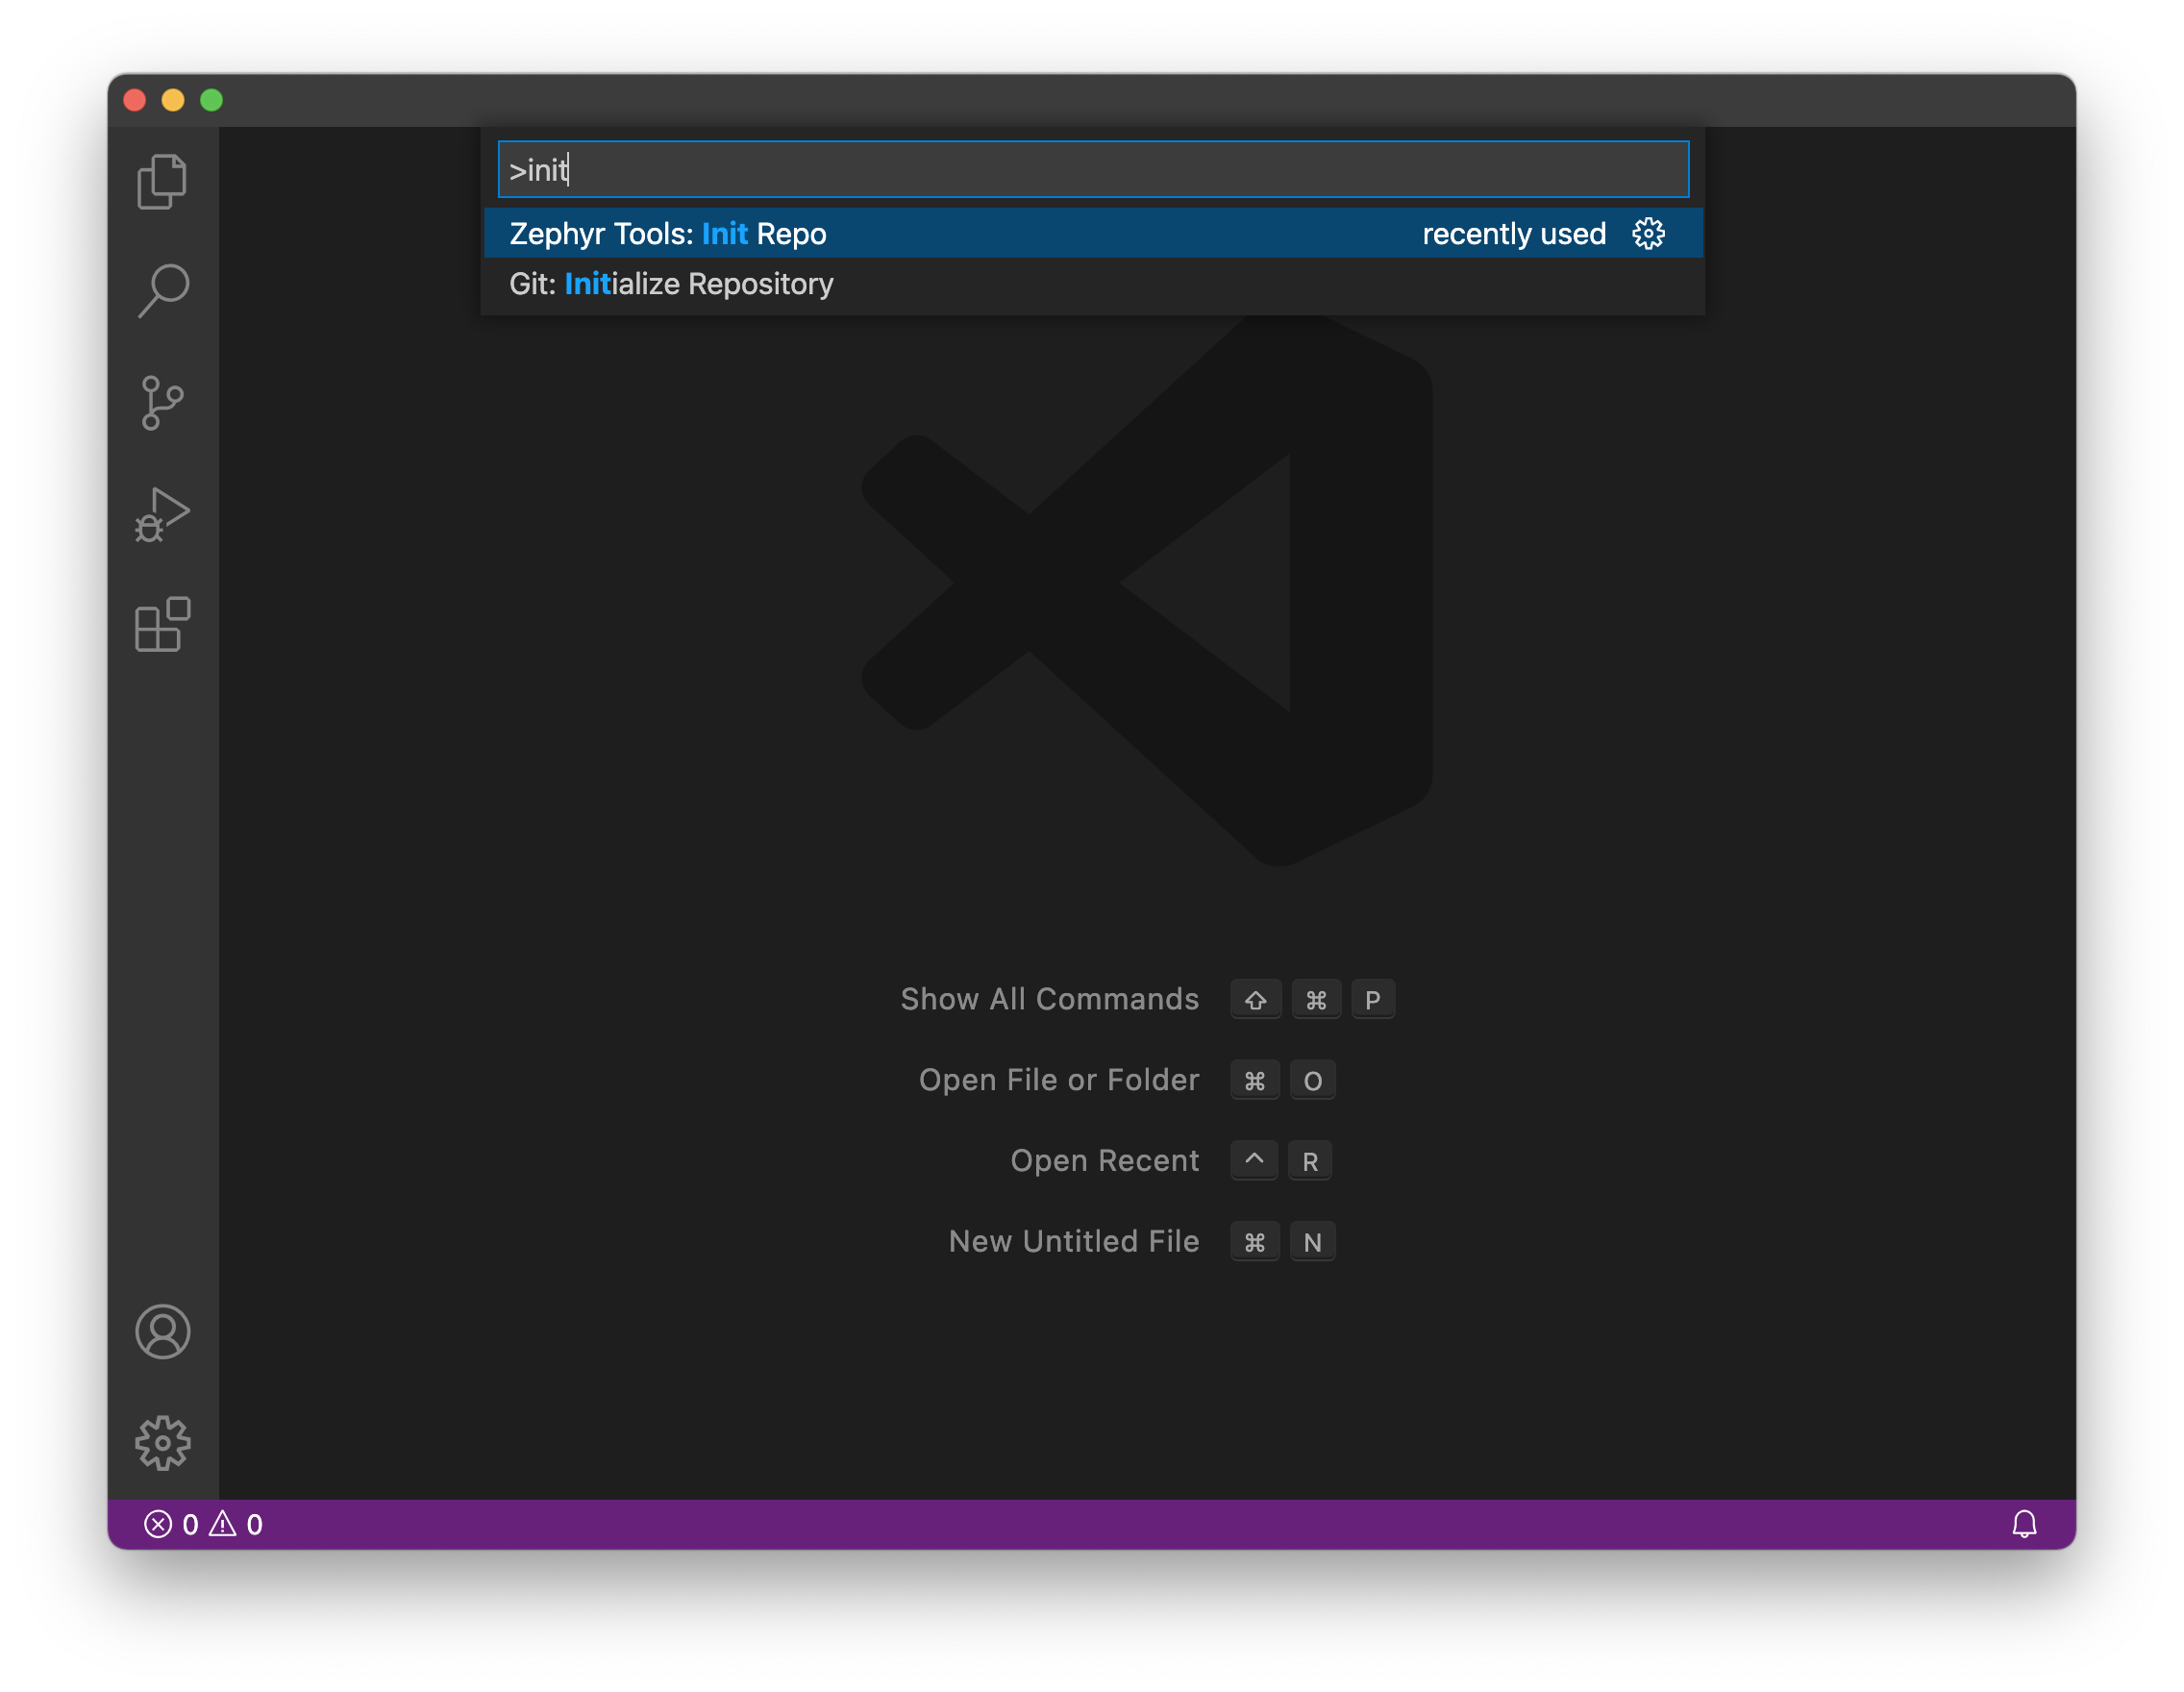
Make sure you use https://github.com/circuitdojo/air-quality-wing-zephyr-demo.git as the URL. It's best to select an empty folder to initialize the project to.
Then build the sample!

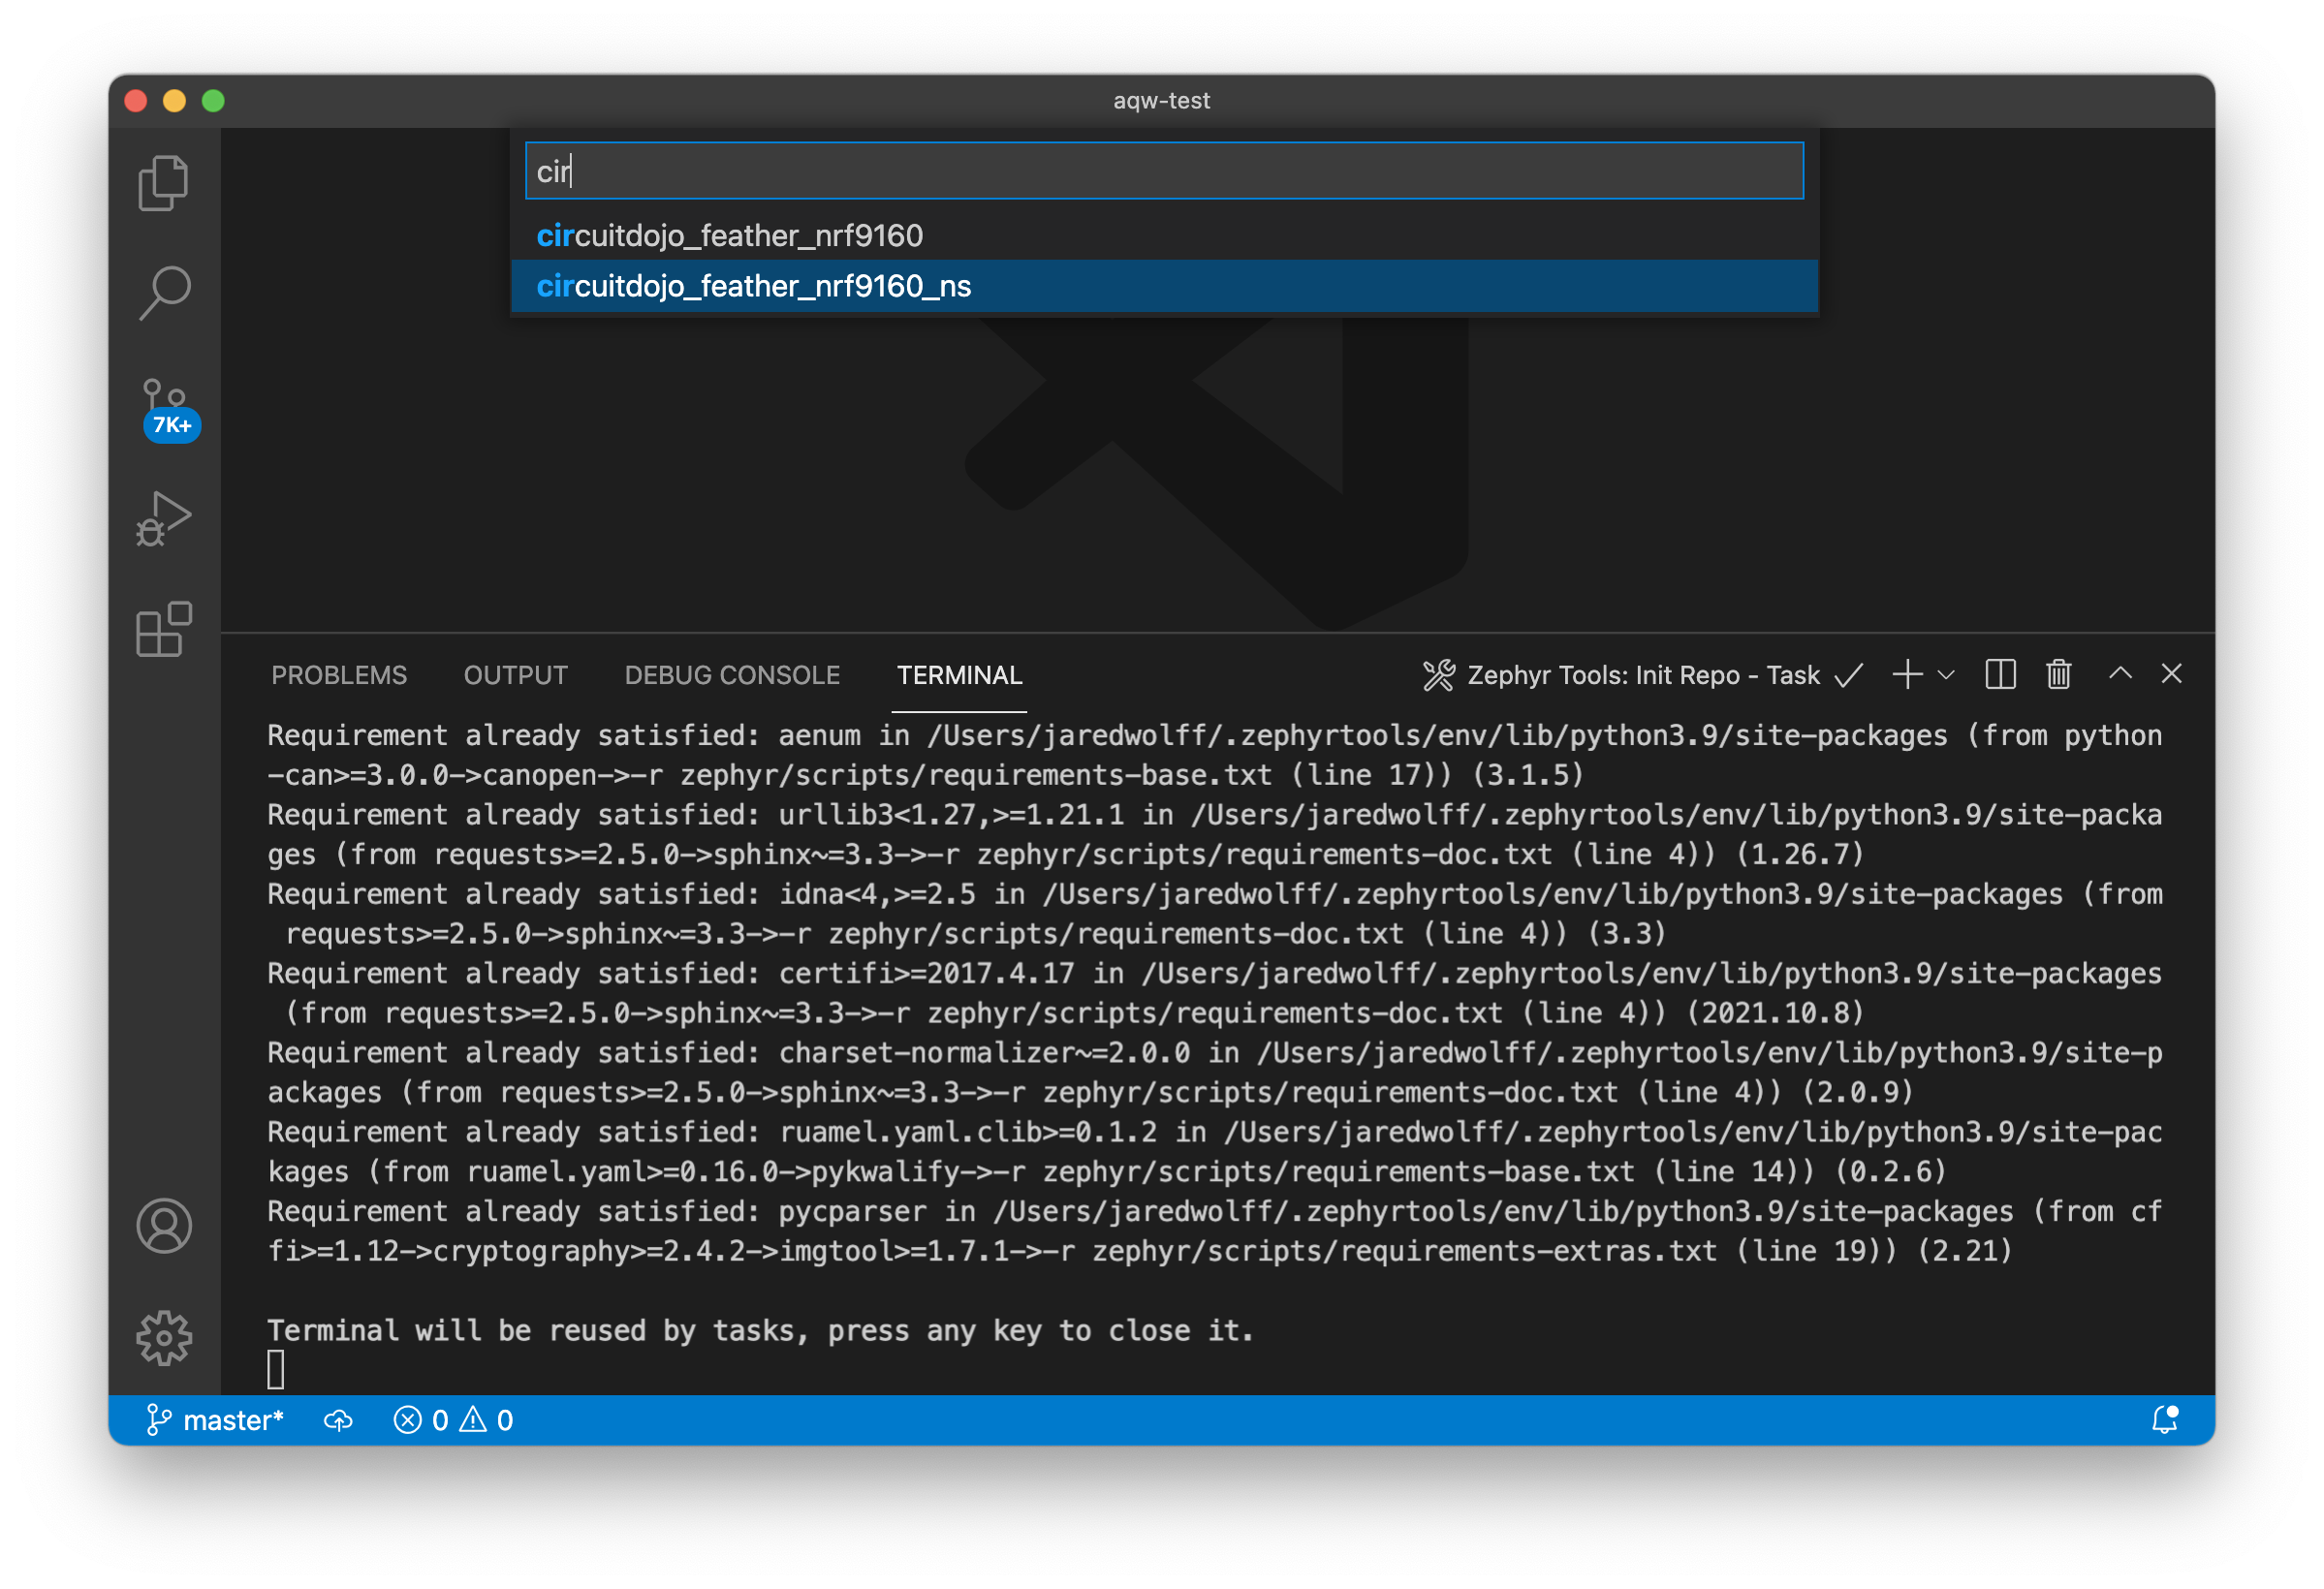
You'll be prompted for a project and board. Make sure the board matches the supported boards. Current supported board targets include:
particle_xenoncircuitdojo_feather_nrf9160_nsnrf52840dk_nrf52840
Here's what it will look like:
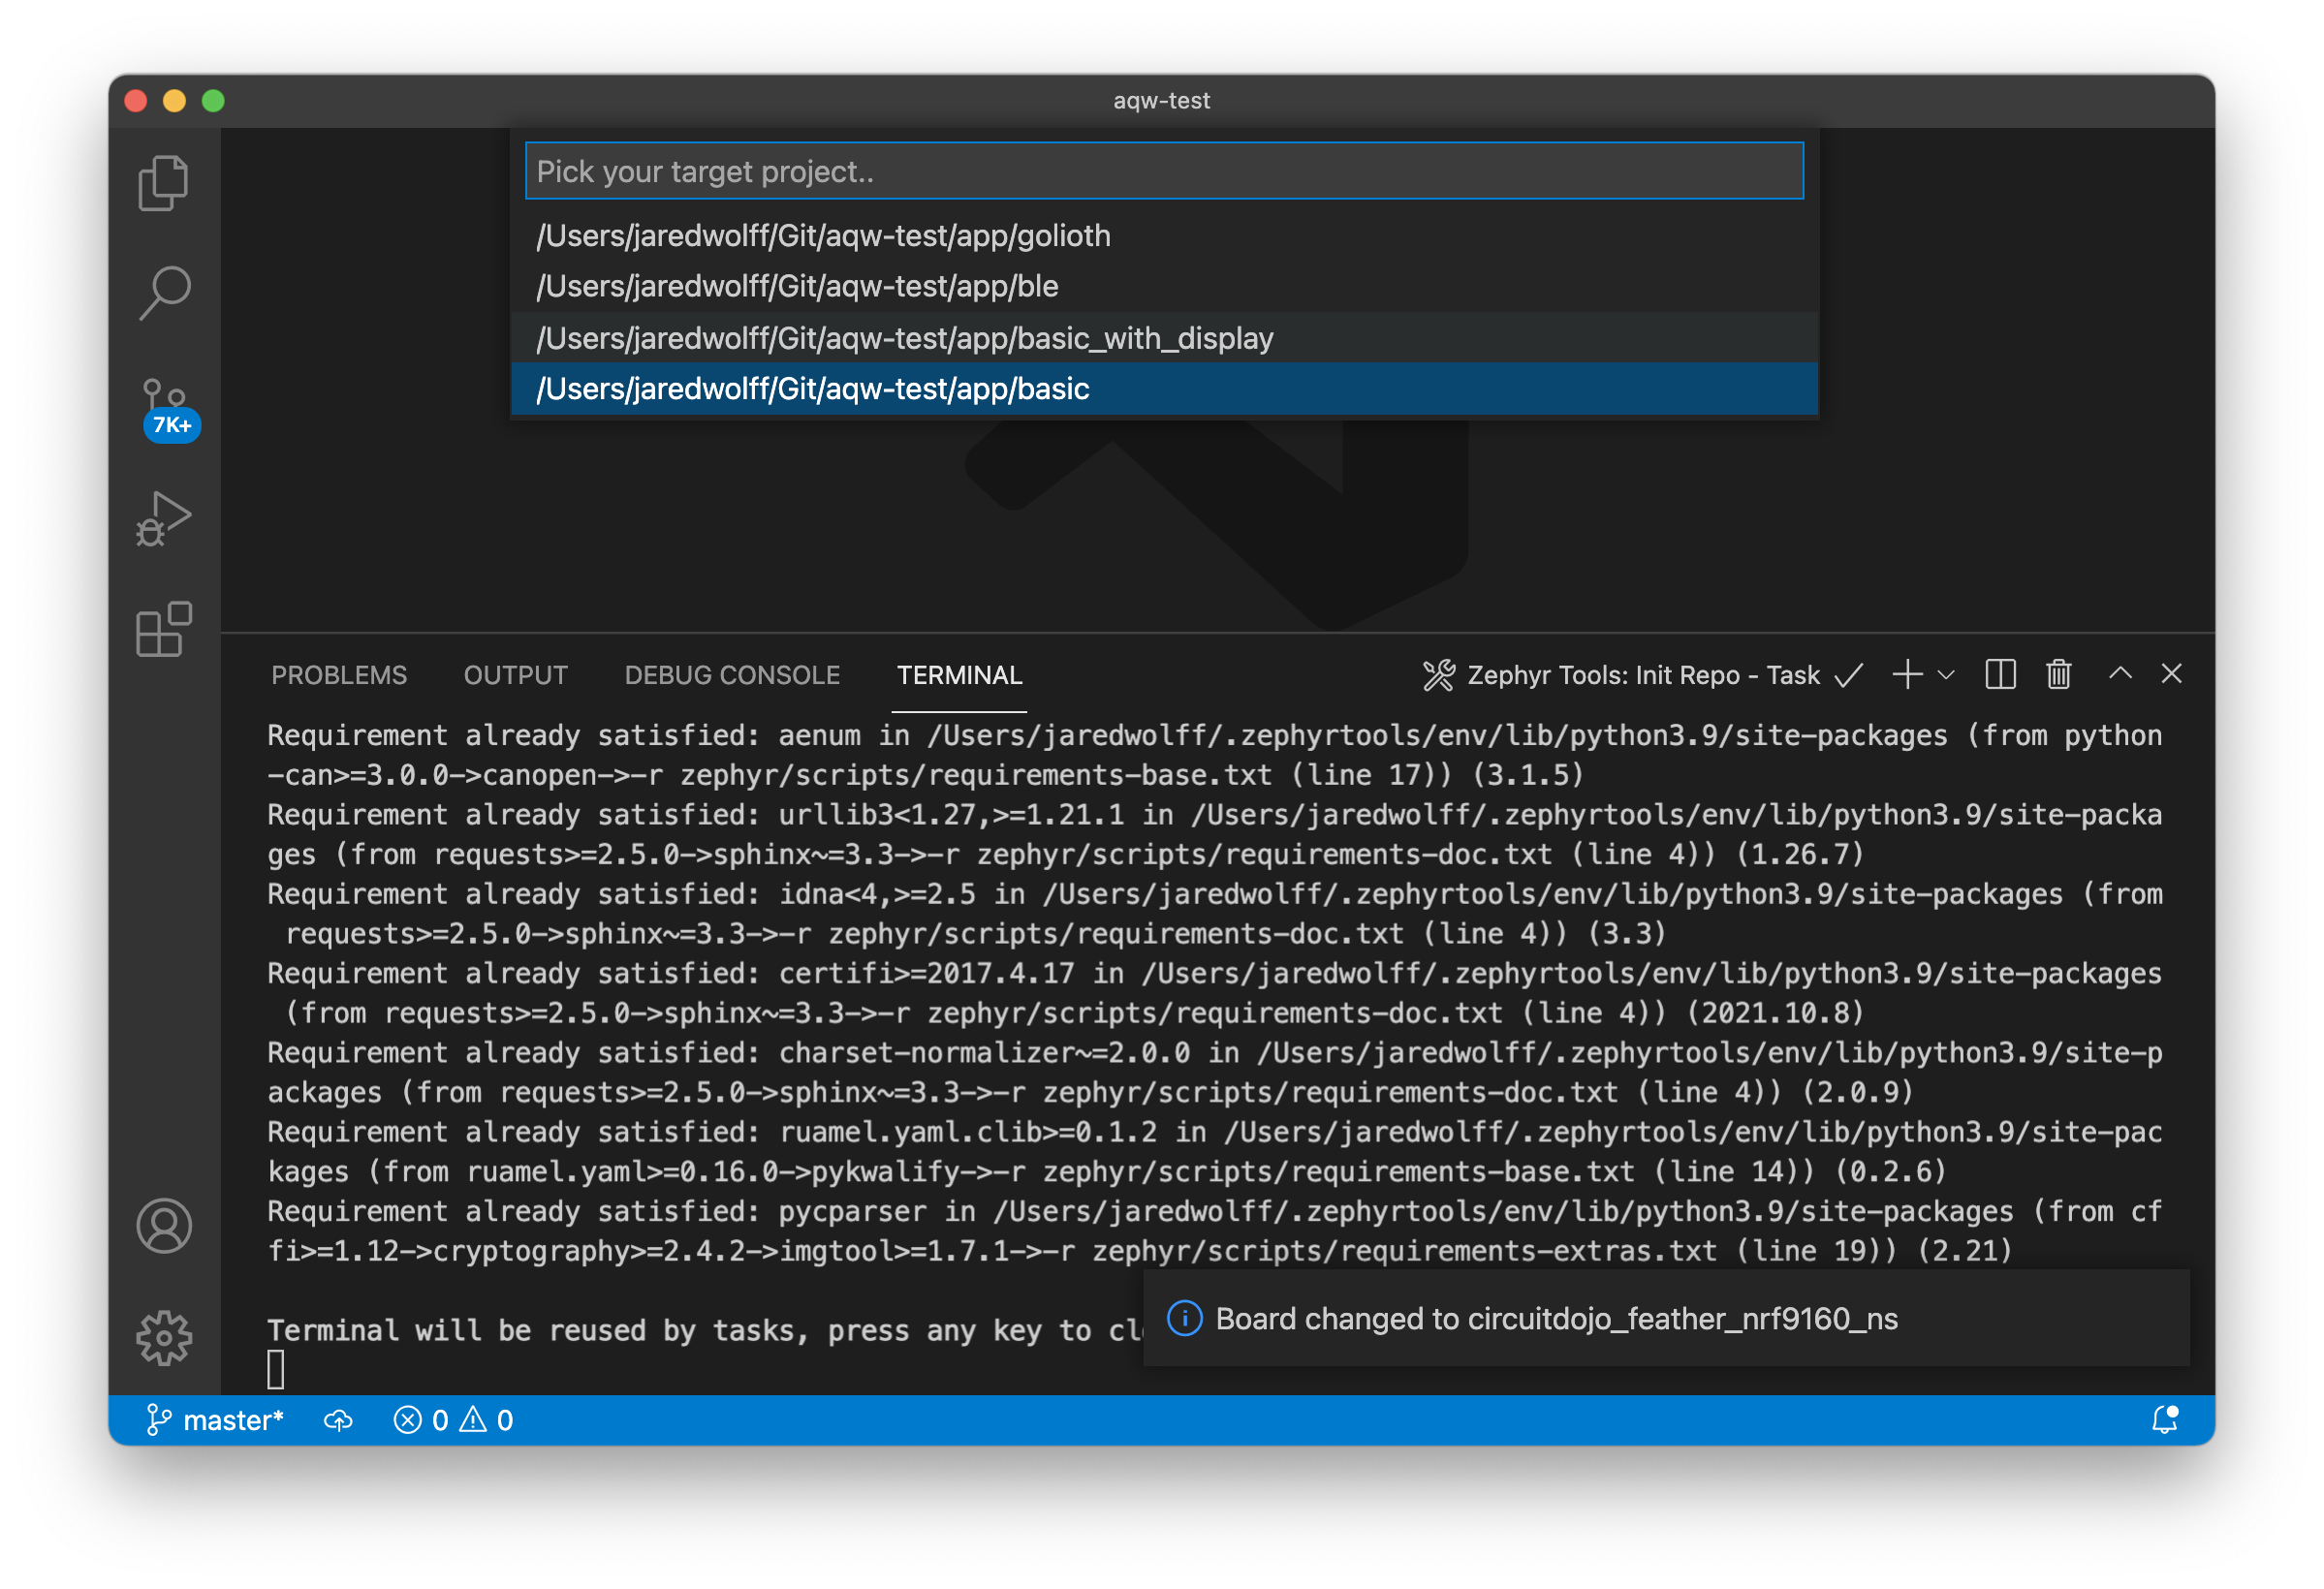
Once the build completes you should get a Build complete! popup along with some success messages in the the terminal.

Golioth Configuration
You will need to edit golioth.conf with your credentials in order to connect to Golioth's backend. More instructions on setting up your credentials can be found here. You can also create devices and add credentials within the Golioth Console.
Loading using VSCode
Once built, place the device into bootloader mode:
- Hold the MODE button
- Then tap the RST button while holding mode
- Hold the MODE button until the Blue LED illuminates
Then, load using the Zephyr Tools: Load via Bootloader task.
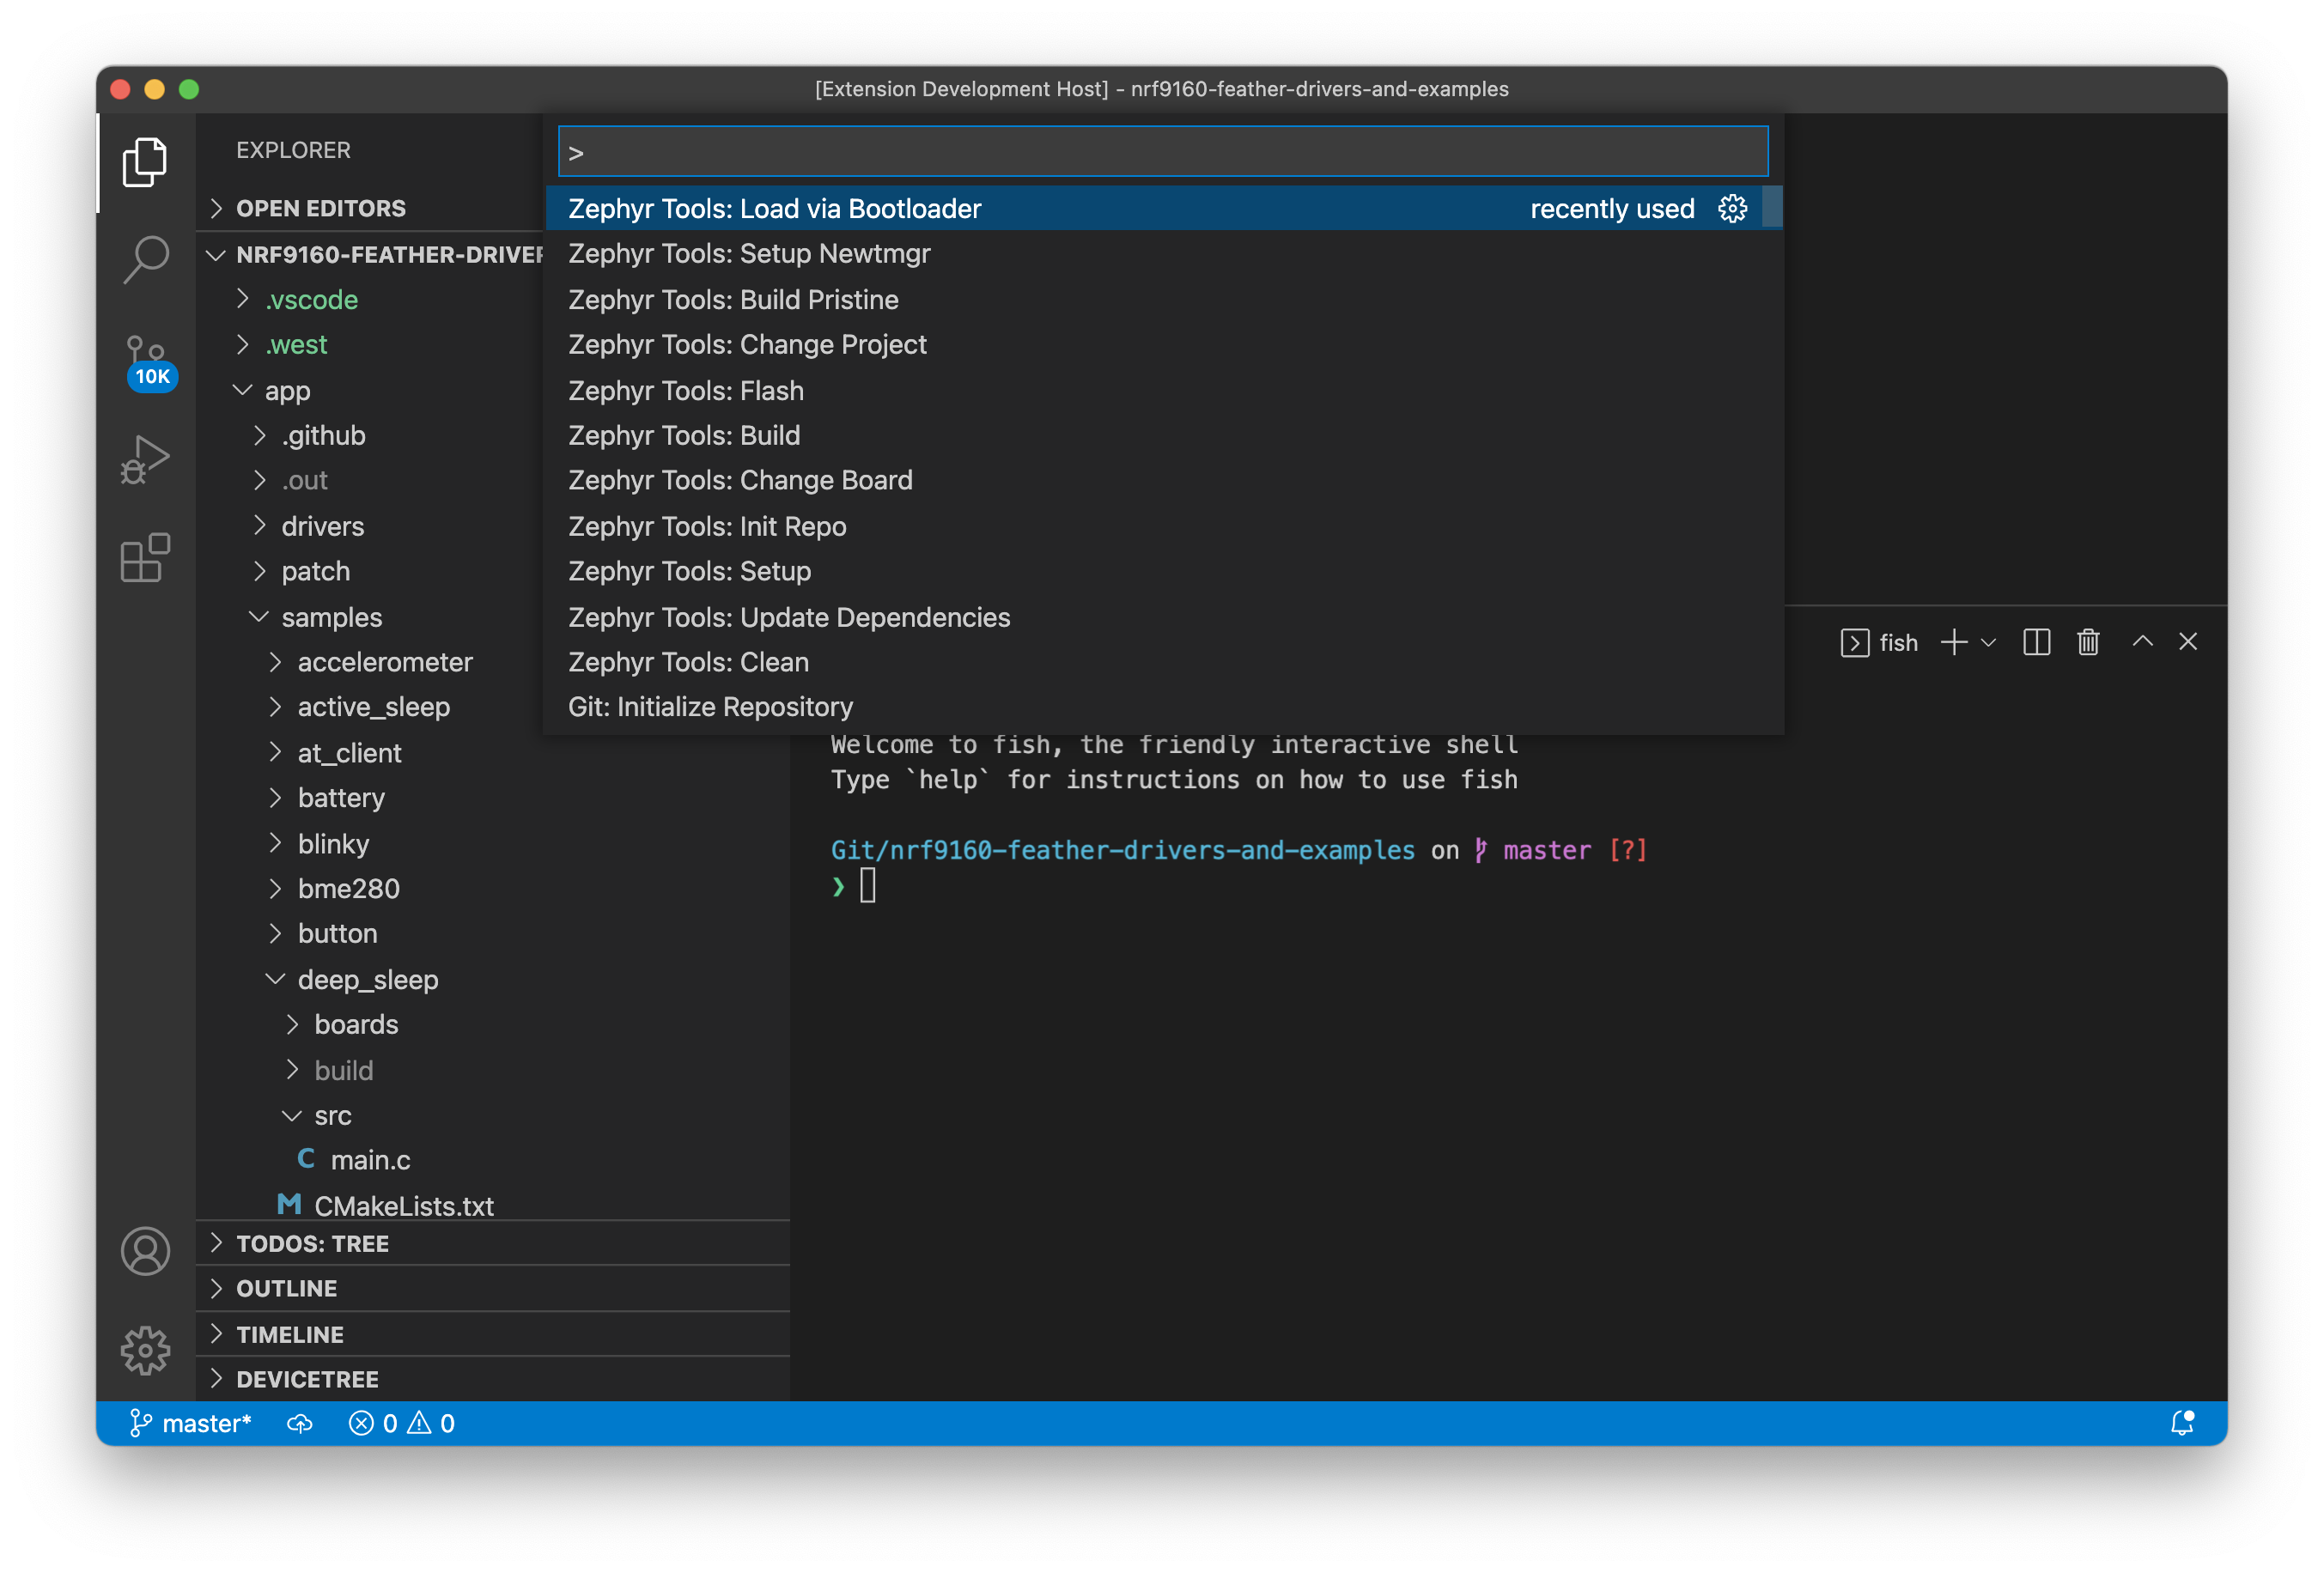
Pay attention to the progress in the bottom console.
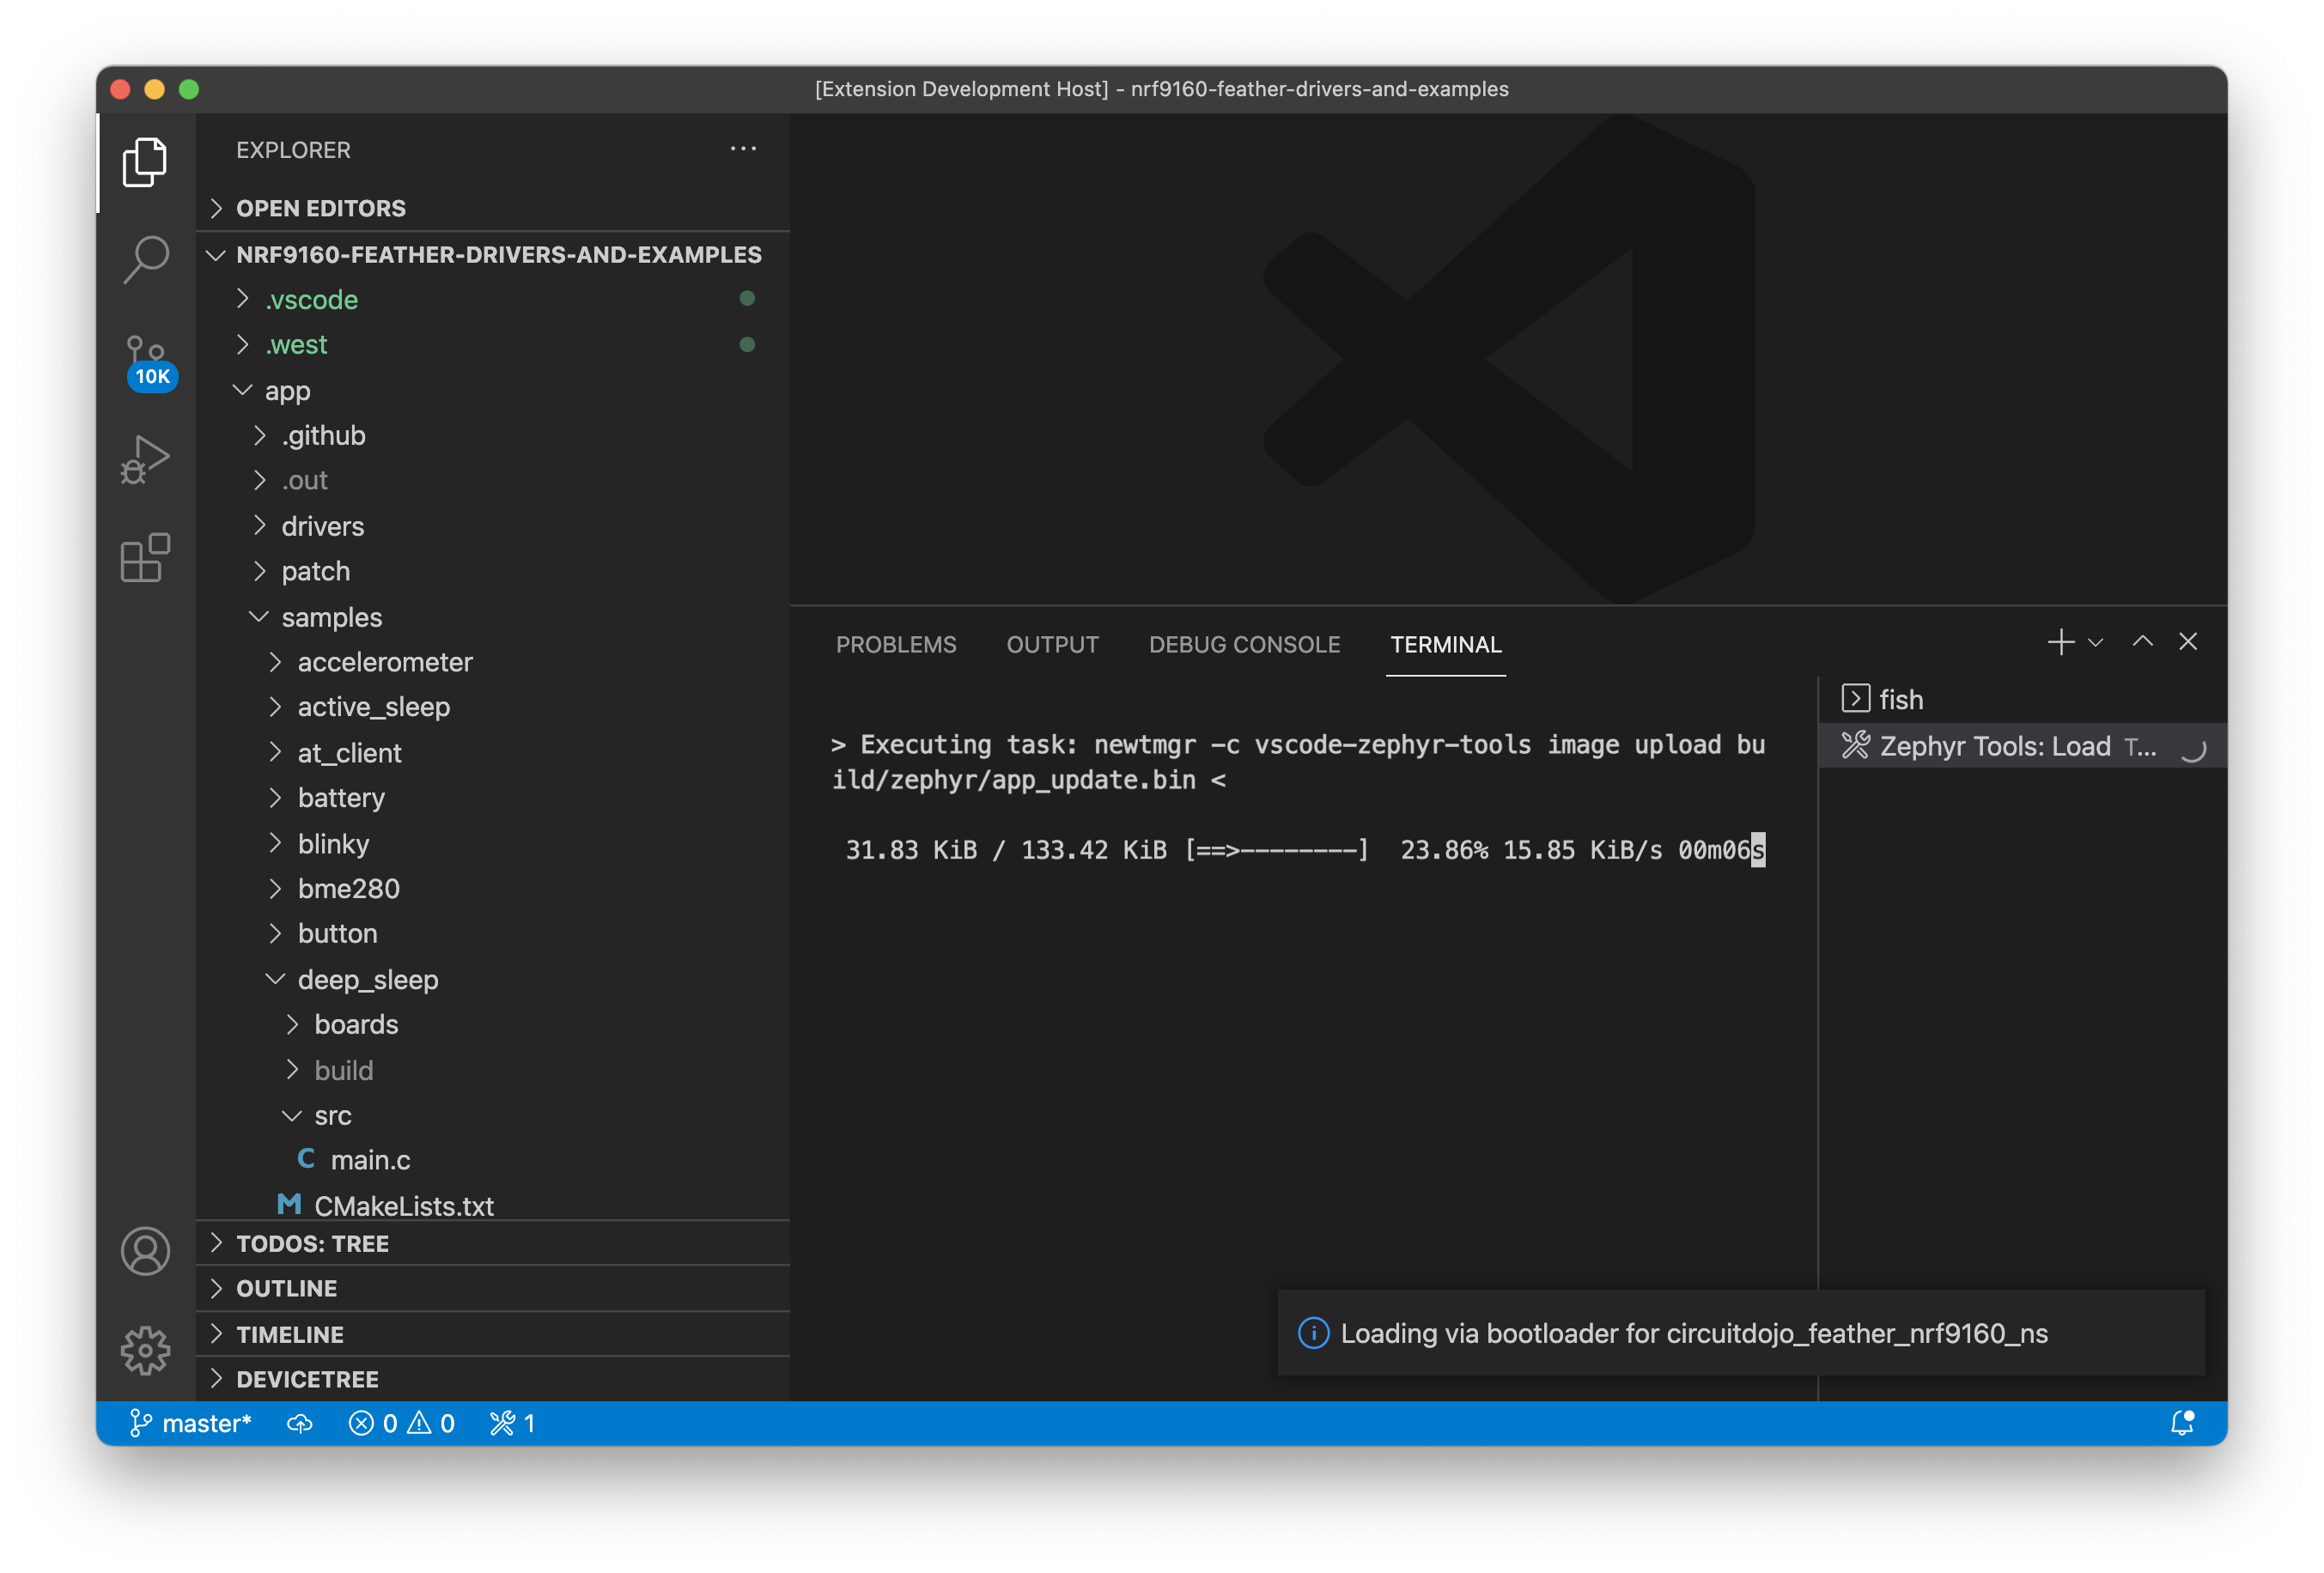
Once complete, the extension will reset your device and should start executing!
Important: make sure you close all console sessions with your nRF9160 Feather before programming using newtmgr. Otherwise the newtmgr image upload will timeout.
Building Manually
These commands are simlar to what the Zephyr Tools extensions uses. The programming commands are also included here.
nRF52840 DK
cd demo
west build -b nrf52840dk_nrf52840
Then flash using
nrfjprog --program build/merged.hex --chiperase --reset
or load via the bootloader
newtmgr -c serial image upload build/zephyr/app_update.bin && newtmgr -c serial reset
Xenon
cd basic
west build -b particle_xenon
Then flash using
nrfjprog --program build/merged.hex --chiperase --reset
nRF9160 Feather
cd basic
west build -b circuitdojo_feather_nrf9160_ns
Then flash using
nrfjprog --program build/merged.hex --chiperase --reset
You can also load using newtmgr. More information is here.