
SDK Setup - UI Workflow
This page is all about getting your machine compiling code for the nRF9160 Feather using the new sidebar interface. Run into trouble during the process? Post your questions on the community forum.
Installing Extension
If you didn’t already, install Visual Studio Code. You can download it from the official website.
The VSCode extension provides a streamlined setup experience through its sidebar interface. VSCode is required along with Python 3 and Git on your system before continuing.
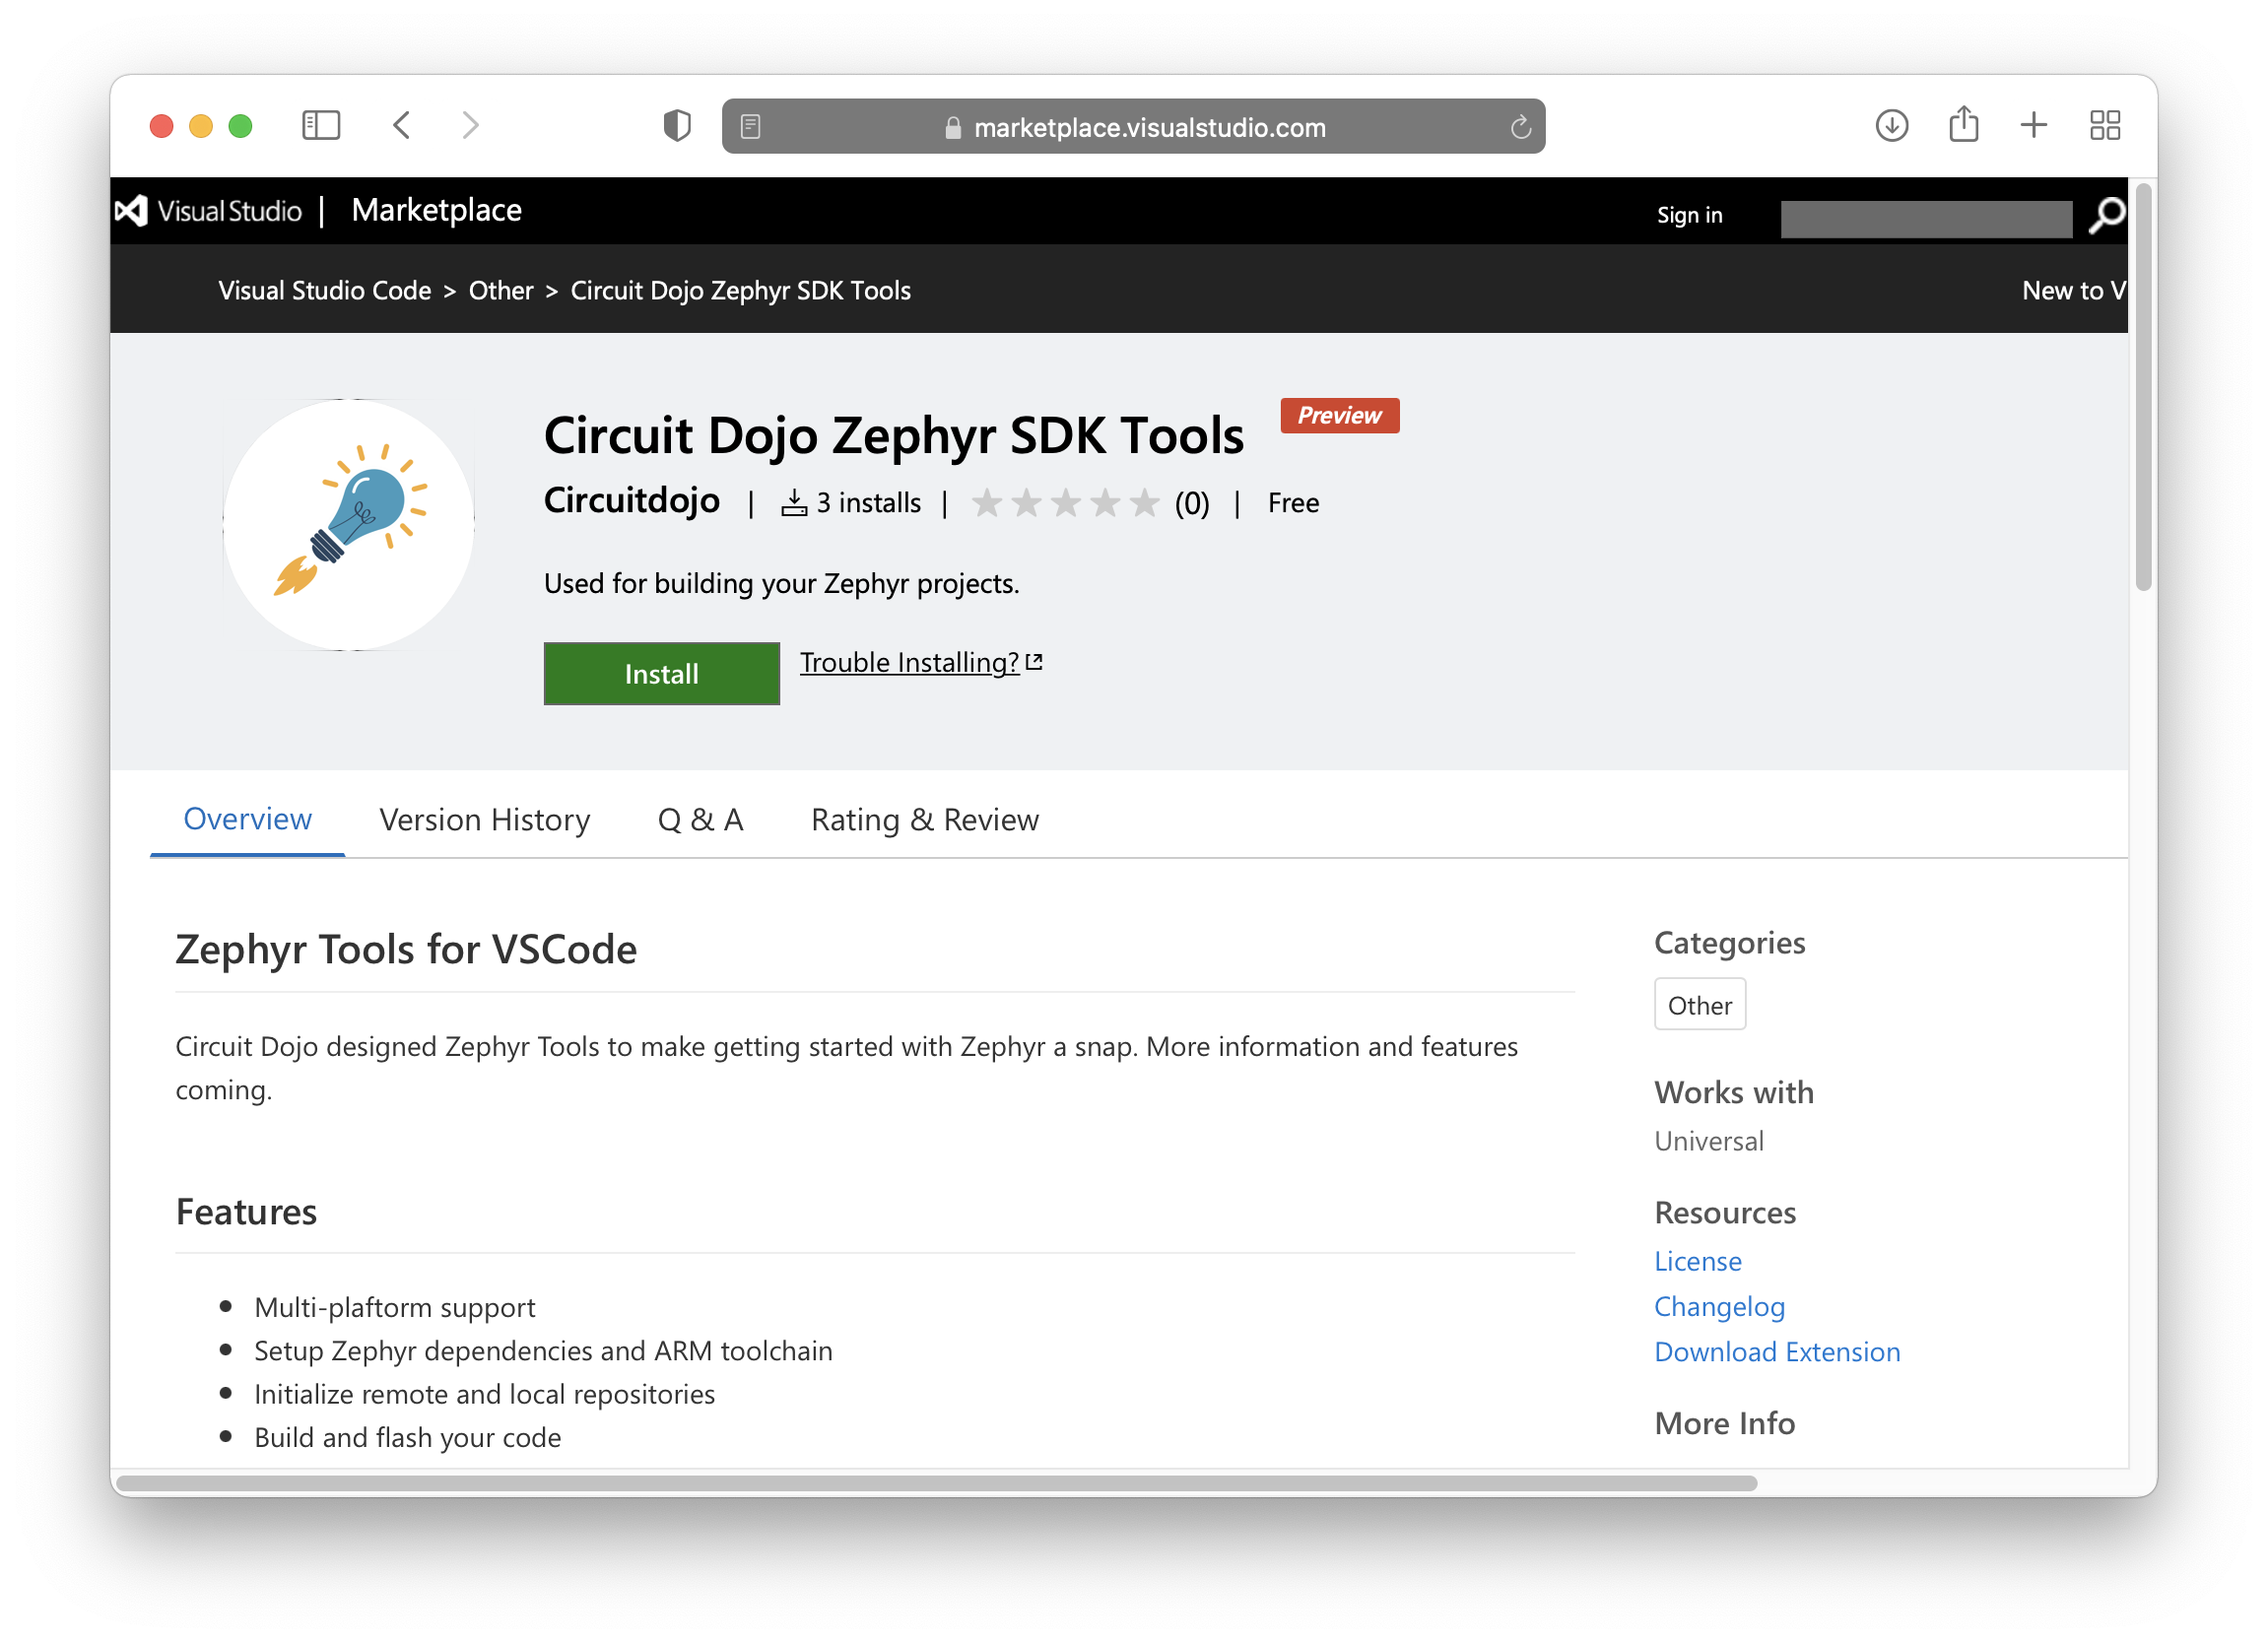
Once Visual Studio code is installed, download the extension here. 👈
Once loaded it will also install all necessary VSCode dependencies.
Important system prerequisites
🚨 Required for first time setup! Do not skip this step! 🚨
Then, install Git and Python if you don’t have them already. As of 7/24/2025 >= Python 3.10 is required.
Linux (Ubuntu/Debian):
sudo apt install git python3 python3-pip
macOS:
brew install git python3
Windows:
- Download and install
gitfrom here. - Download and install
pythonfrom here.
Run Setup
Open Visual Studio Code. You should see the Zephyr Tools sidebar on the left side. If the sidebar shows “Setup Required”:

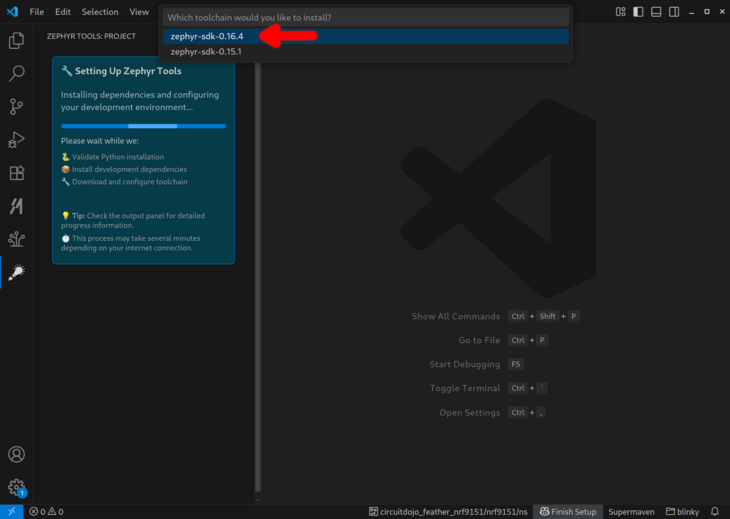
Click the “Run Setup” button in the sidebar. This will start the setup process. When you’re prompted to select a toolchain, select the latest version.
Once selected, you can watch the progress in the output window:
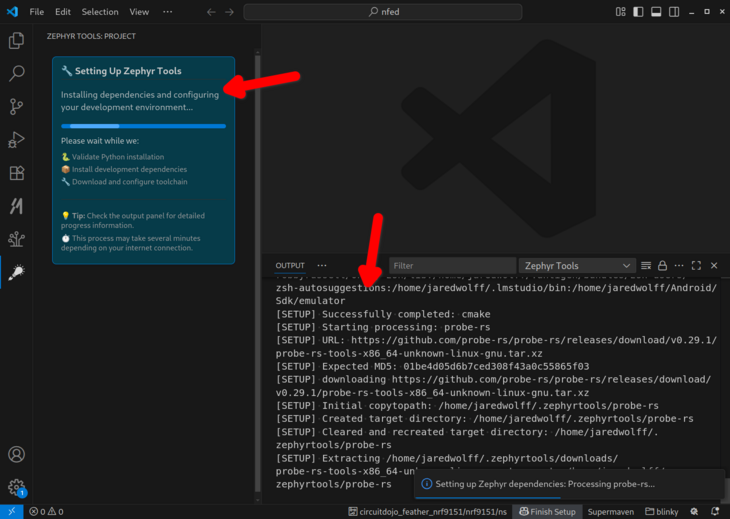
Wait for the setup to complete. The sidebar will update automatically when finished.
Init the repo
Once setup is complete, the sidebar will show “Initialize Zephyr Project”:
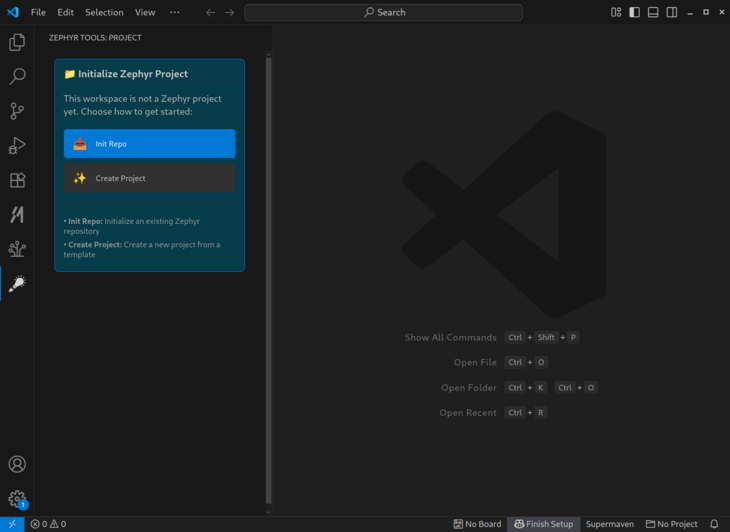
Click the “Init Repo” button in the sidebar. Navigate to the empt folder you want to initialize the project to. VSCode will re-open the workspace in the folder.
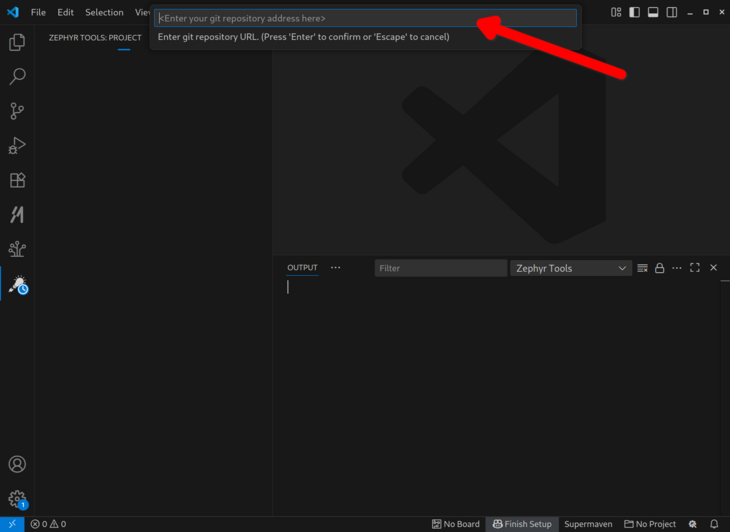
If you’re new here, make sure you use this URL to start:
https://github.com/circuitdojo/nrf9160-feather-examples-and-drivers.git
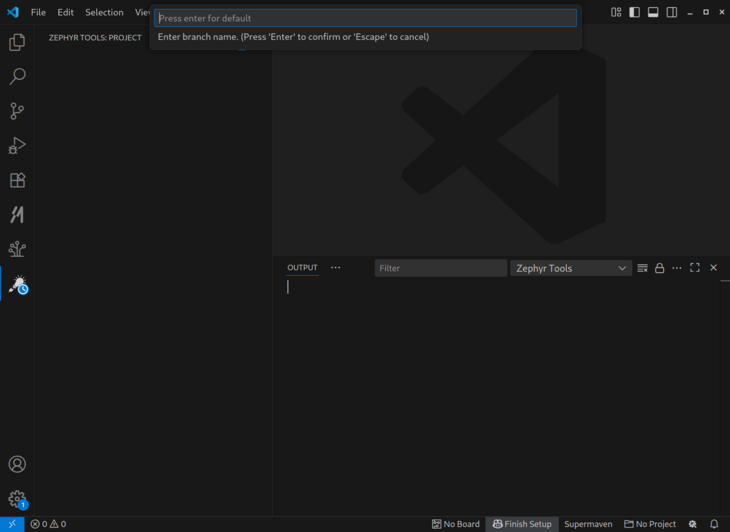
You can leave the branch name blank to use the default branch.
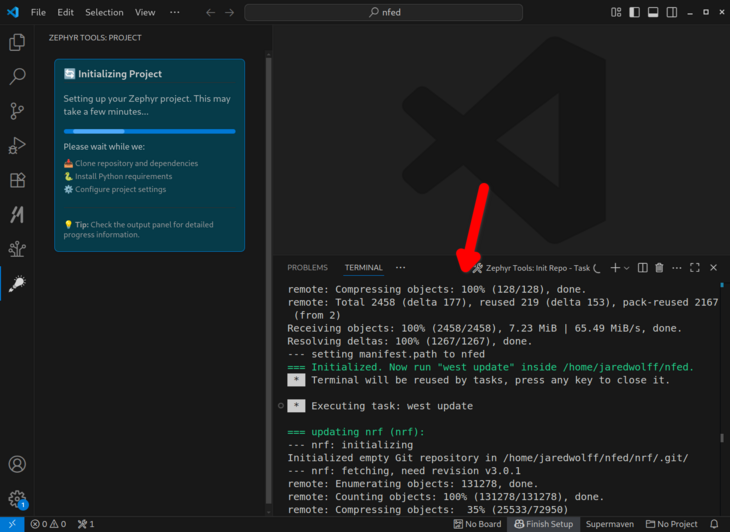
The sidebar will show initialization progress while the repository is being set up:
Then build the sample!
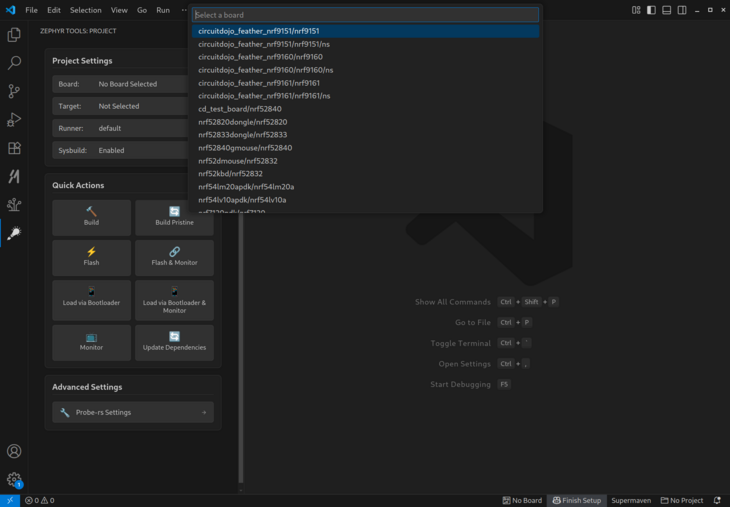
Once initialization is complete, the sidebar will show the full interface with Quick Actions:

Click the “Build” button in the Quick Actions section.
You’ll be prompted for a project and board. Make sure the board matches the supported boards. Current supported board targets include:
Here’s what it will look like:
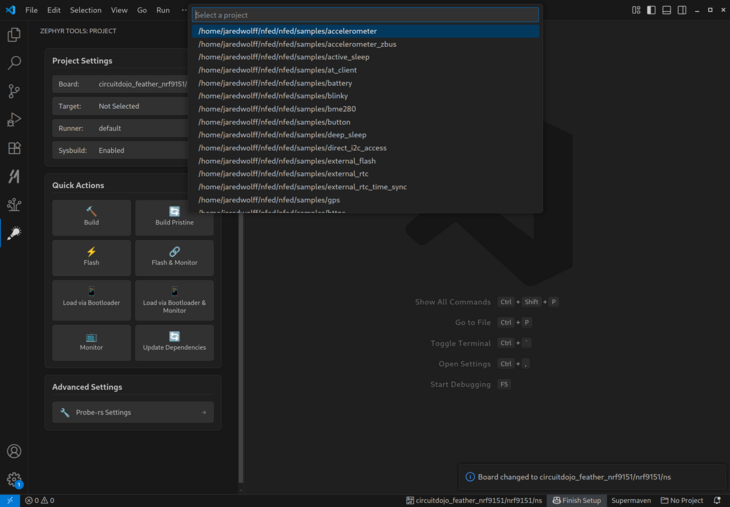
Once the build completes you should get a Build complete! popup along with some success messages in the terminal.
newtmgr (Used to load your application via USB serial bootloader)
newtmgr is the command line utility for loading code to your device via the bootloader. This is only necessary for the nRF9160 Feather. When you invoke the Load via Bootloader or Load via Bootloader and Monitor actions, it will automatically prompt you for the serial port and BAUD.
Select your serial port:
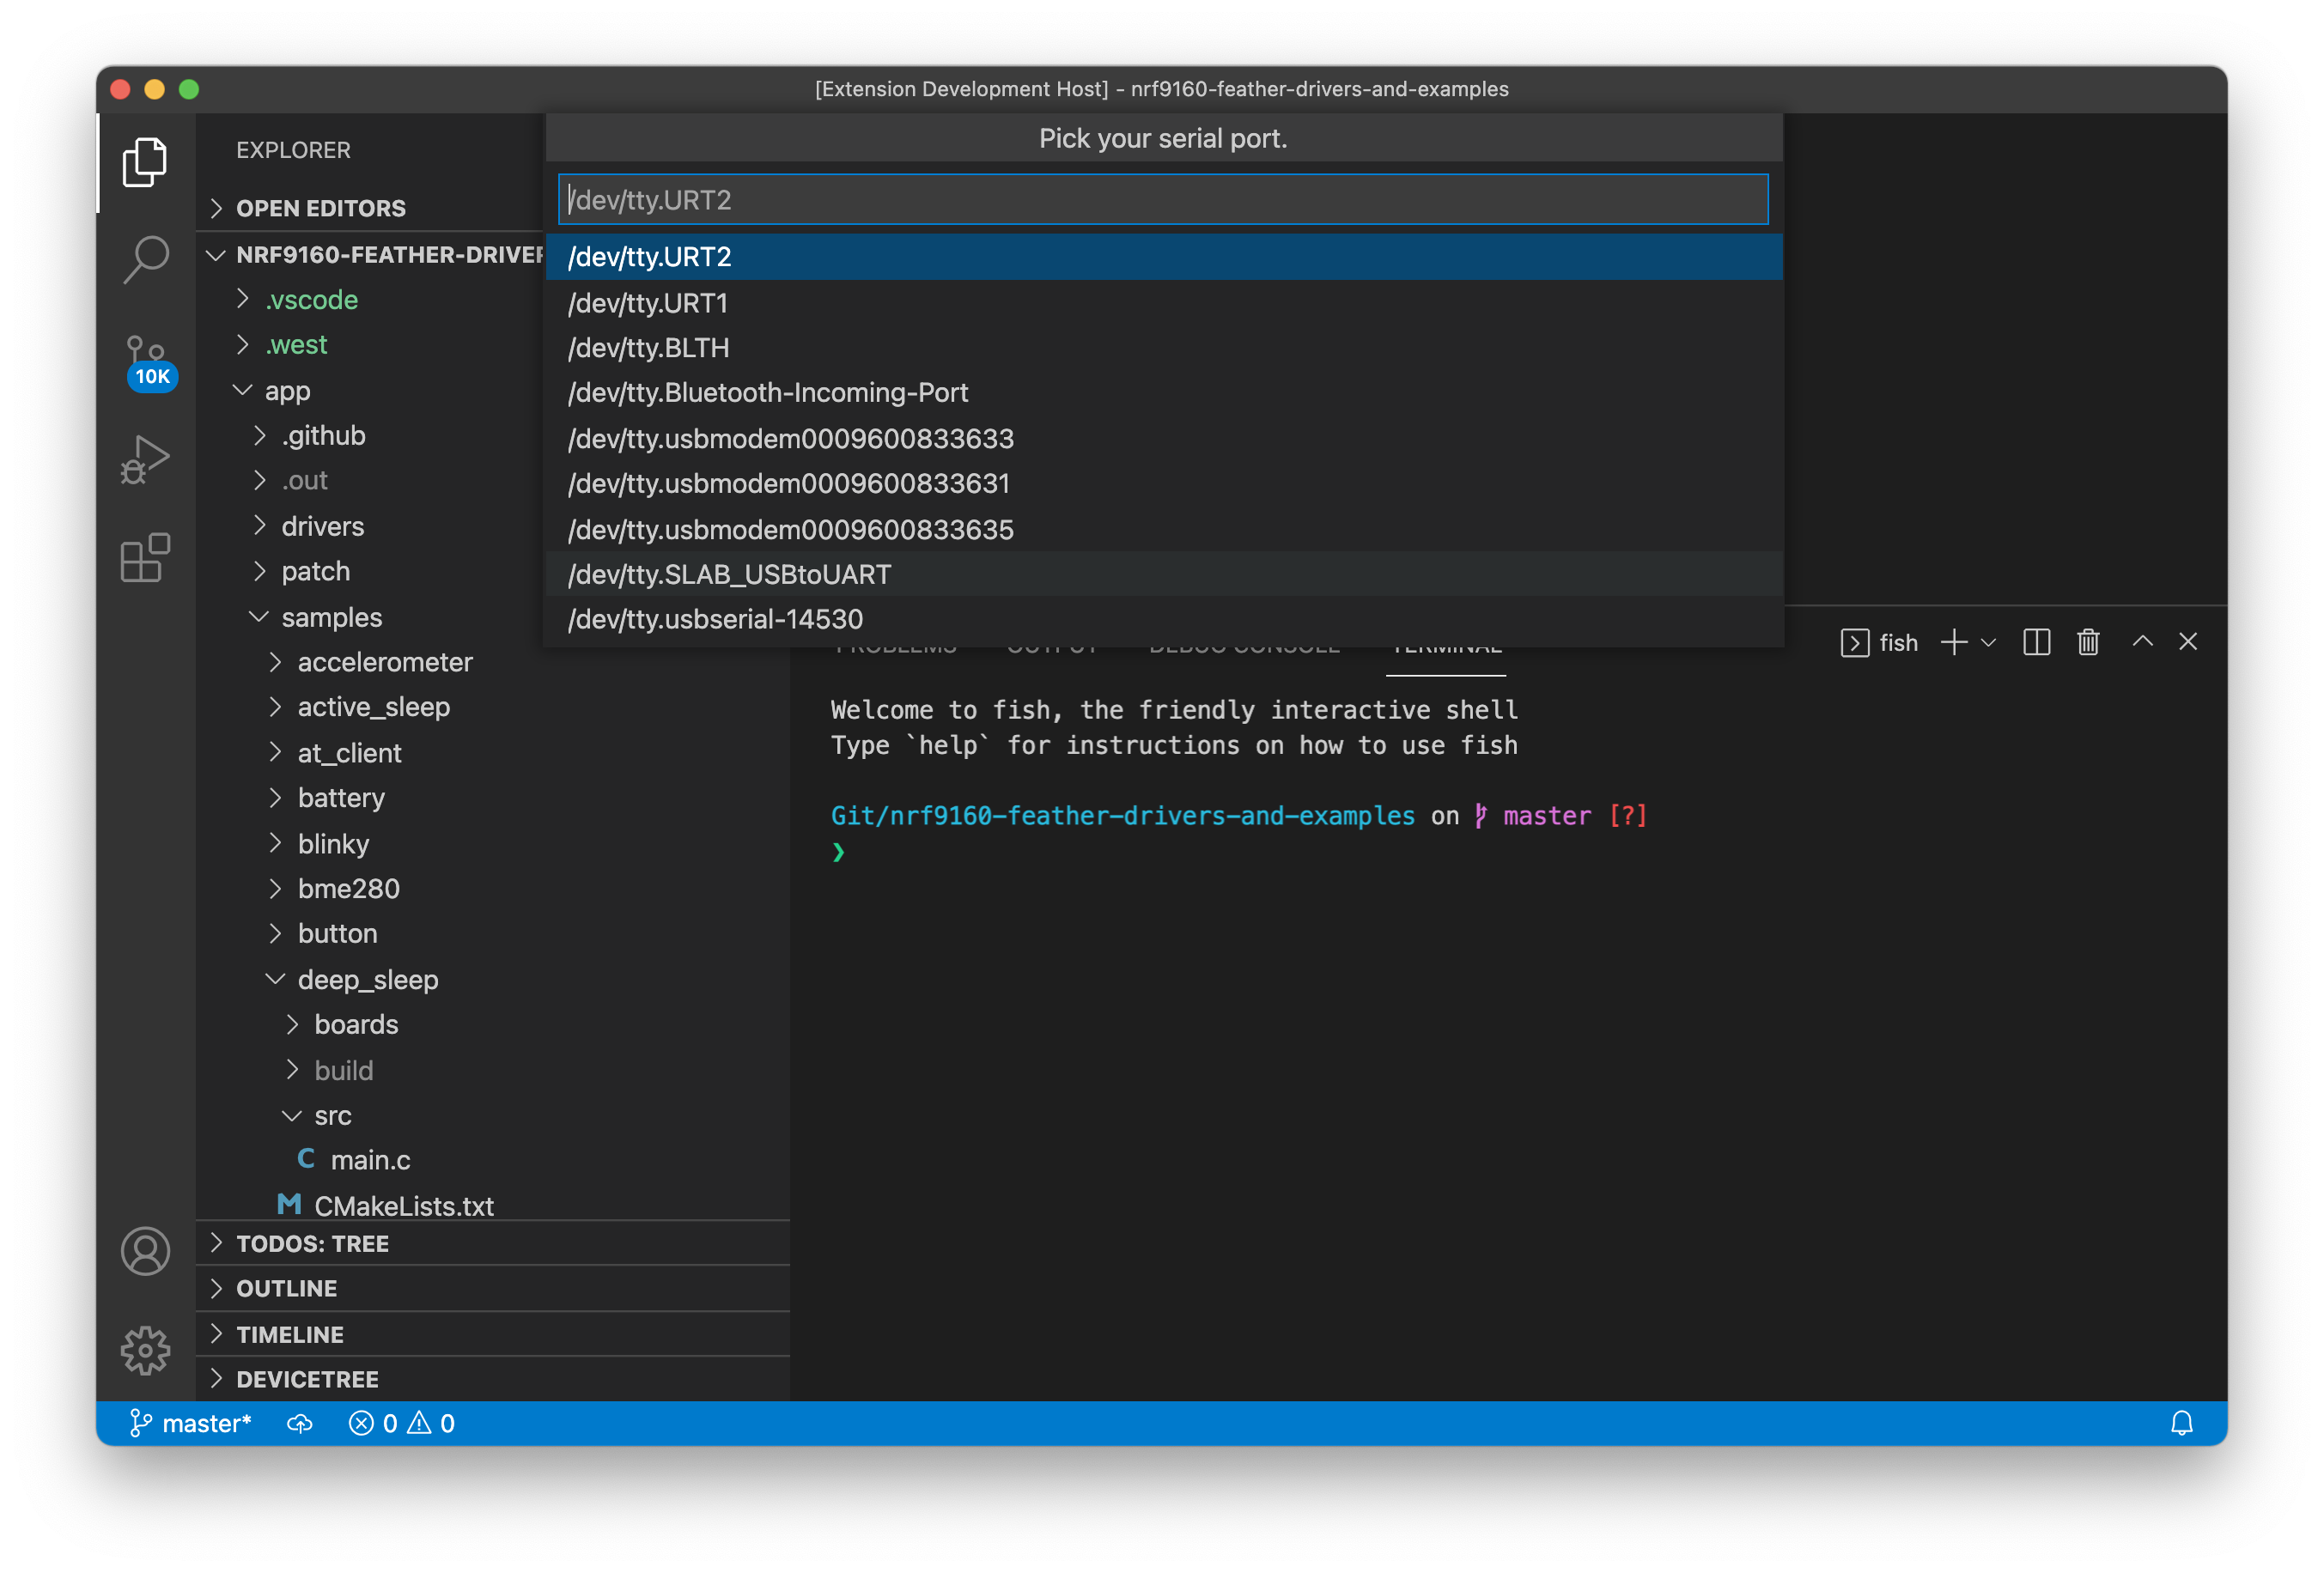
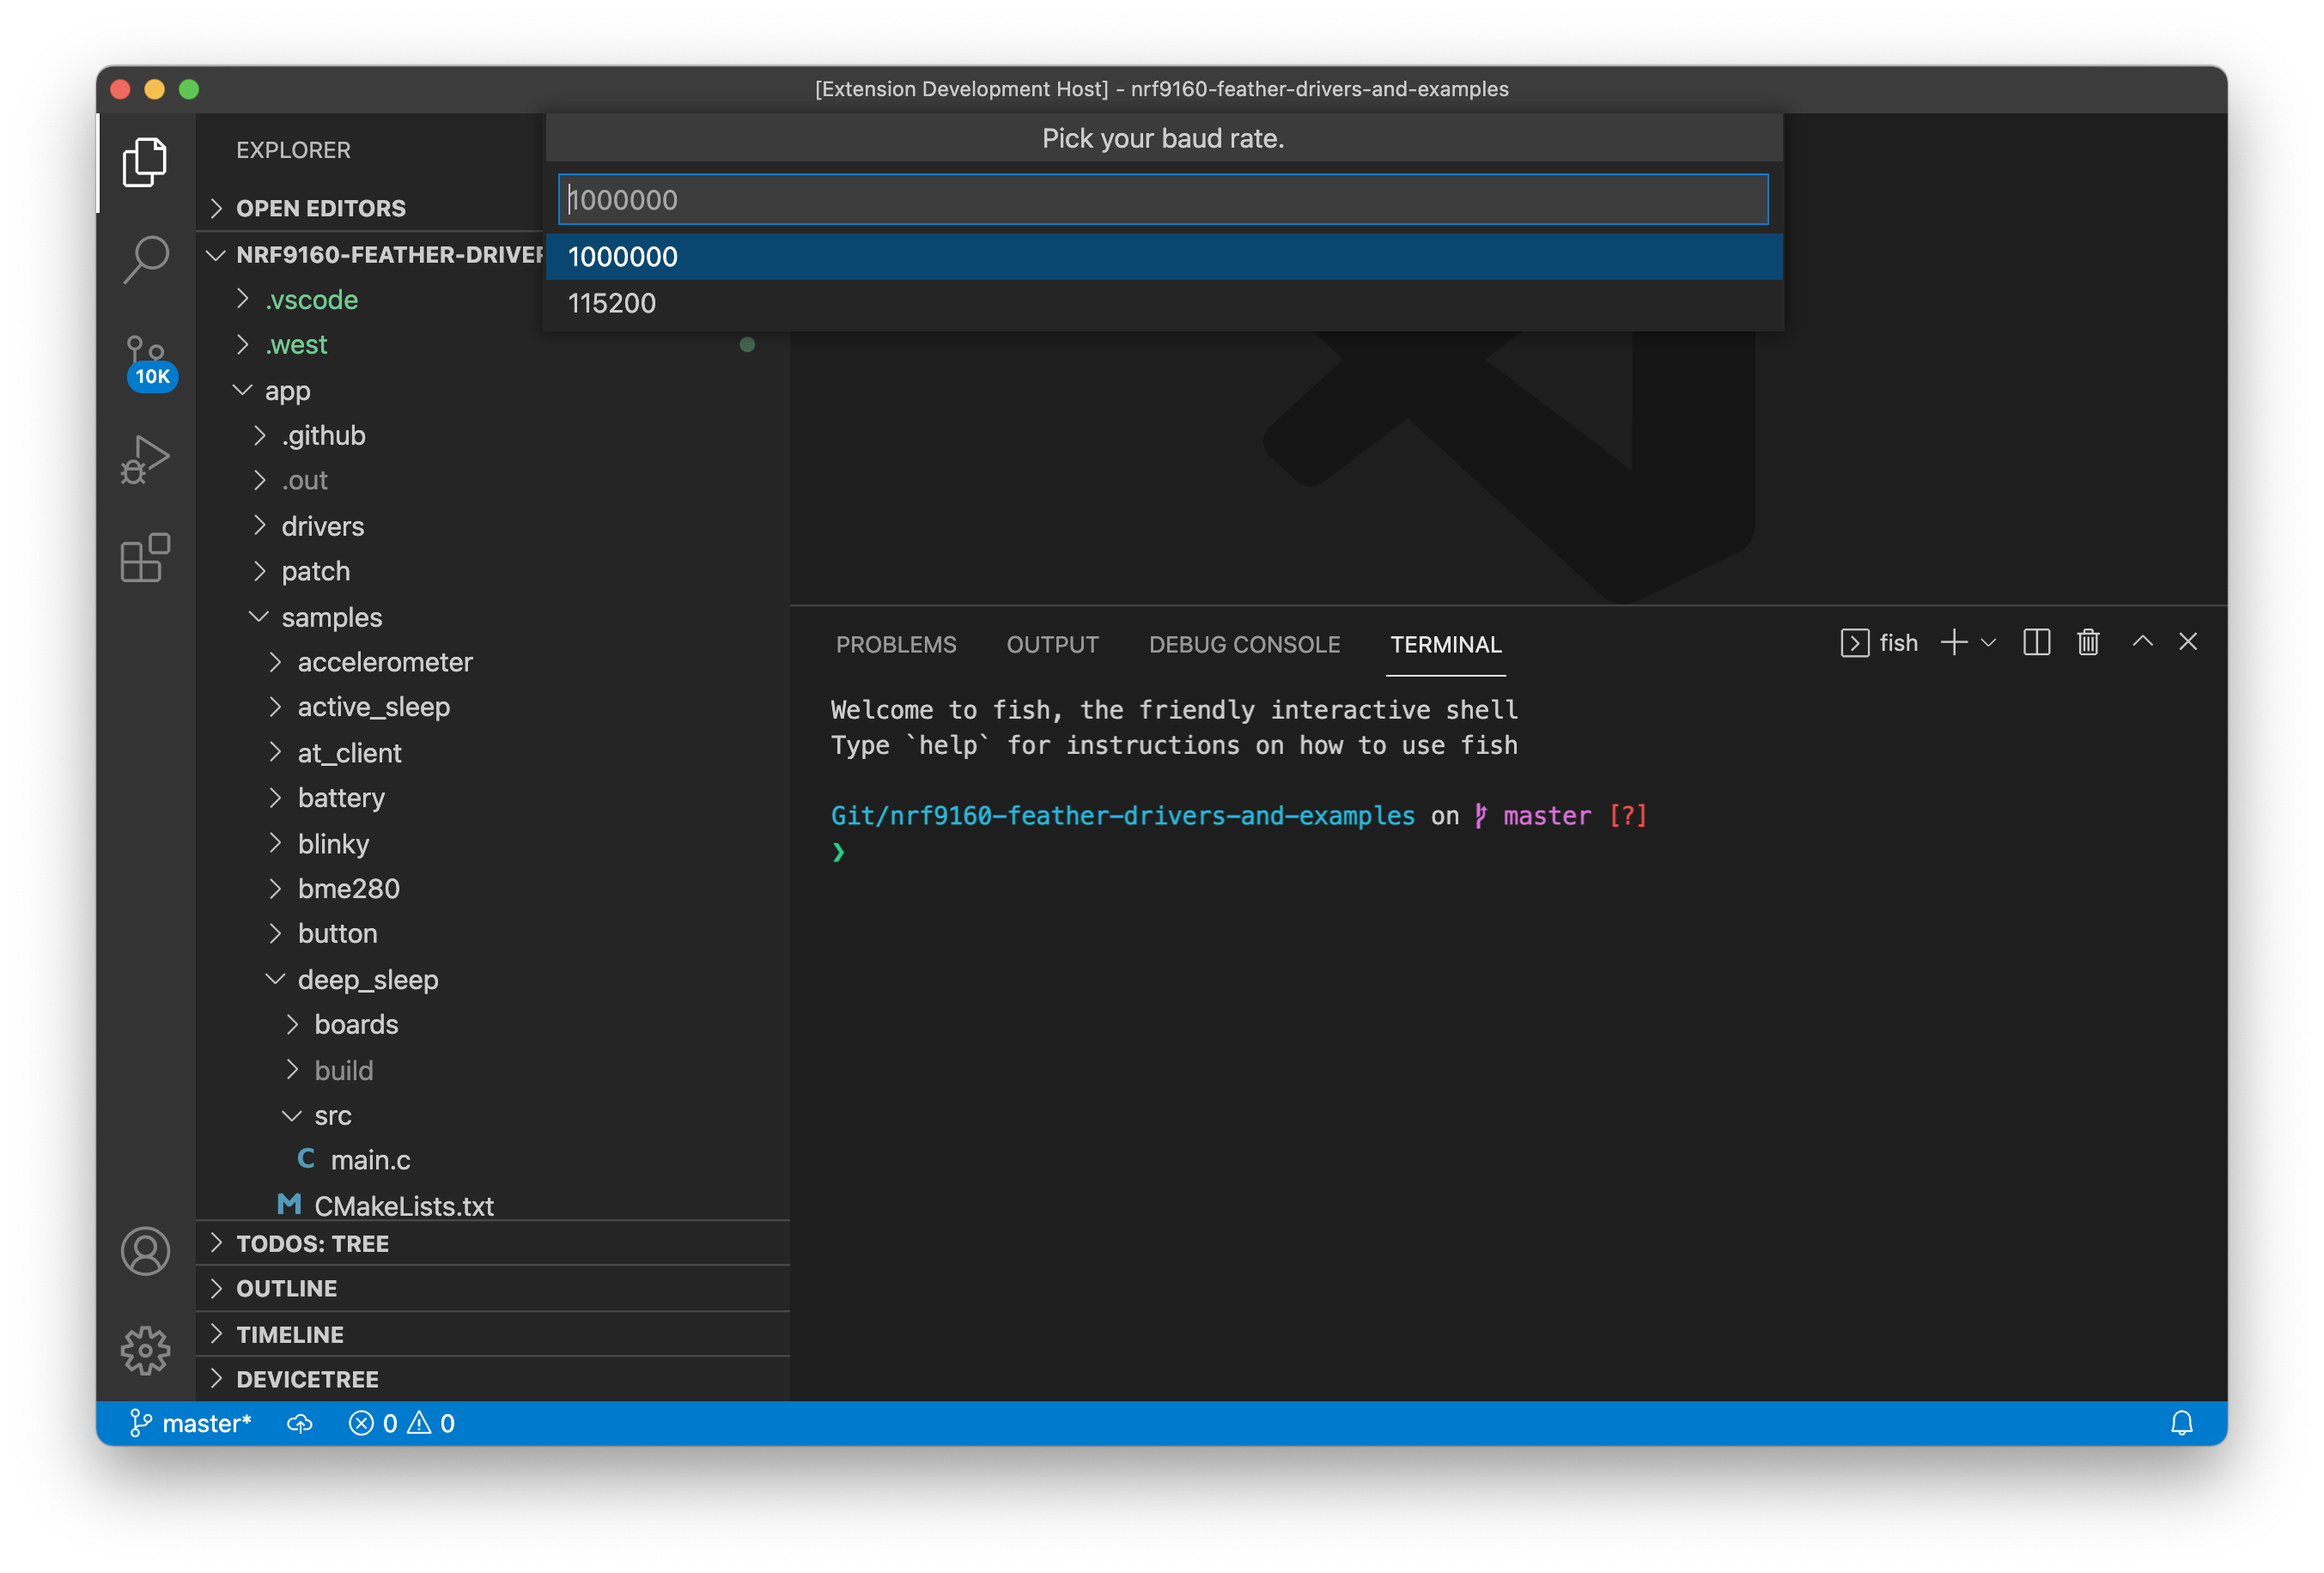
Then select the BAUD. (Important! The nRF9160 Feather only supports 1000000) Once complete you’re ready to use the “Load via Bootloader” button in Quick Actions.
Serial configuration
Note for Linux users: if you get a Error: open /dev/ttyUSB0: permission denied error. You may need to add your user to the dialout group:
sudo usermod -a -G dialout <username>
This allows you to open a serial port without having to use sudo.
Adding udev rules are also sometimes required:
sudo nano /etc/udev/rules.d/99-nrf91xx-feather.rules
Add the following:
SUBSYSTEM=="usb", ATTRS{idVendor}=="10c4", ATTRS{idProduct}=="ea60" GROUP="users", MODE="0666"
SUBSYSTEM=="usb", ATTRS{idVendor}=="2e8a", ATTRS{idProduct}=="000c" GROUP="users", MODE="0666"
Then save and exit.
To reload the rules:
sudo udevadm control --reload-rules && sudo udevadm trigger
Note for macOS users: If you’re on a newer version of macOS you’ll need to install the drivers.
Note for nRF9160 Feather Windows users: You may need to install the Silabs VCP driver.. Download and install the CP210x VCP Windows option.
For more info in using newtmgr checkout the programming section of this documentation.
Testing it
You can quickly test if your SDK is set up correctly by checking out the samples.